Pages

Monday, September 6, 2010

Breast Cancer Awareness Challenge

First Friday Challenge #3: Think Pink!
mesazona/logob.jpg

I decided to give this challenge a try even though I have not been directly affected by this horrific disease. I believe it is an important cause and I am willing to help any way I can.


This paper had lots of great sayings, so I wanted to display it as much as possible without covering it up. I added the ribbon and two breast cancer awareness stickers. The stickers were purchased at Michaels for 60 cents. There are actually numerous sheets of various sizes and shades. I inked the edges (which was a first for me) to add a vinatge feel.
I thought this saying was very encouraging, so I added it inside. It was on the decorative paper I used for the cover.
Very simple but perfect for the theme. The sticker is layered and attached with foam dots. The edge is a ribbon punch.

Hoping you are enjoying your holiday.
Stay Creative,
Georgiana : )

Sunday, September 5, 2010

Button, Buttons, and More Buttons

My daughter and I went to Joann's this afternoon and found a bunch of buttons on clearance for 10 cents, 25 cents, and 50 cents; therefore, so we stocked up. I also received 15% off with my teacher discount.

She picked out most of the buttons on the bottom row.

When we returned home, I separated all the buttons in a craft organizer.
Curious to know...how do you organize your embellishments? Please share your tips here for others!

Now I am ready to start crafting before the season finale of Leverage.

 Enjoy the rest of your Labor Day weekend.
Stay Creeative,
Georgiana : )

Saturday, September 4, 2010

"Punch Buggie ~ No Punch Back"

My daughter loves to play Punch Buggie and every morning on the way to school she calls the same exact blue VW car. It is sitting in a driveway and it must be broken because it seems to never move. Lately she calls it before we drive by or afterwards if she forgets. Now she even calls the name to every car we drive by. I am proud that she can recognize cars by their grill, symbols, and appearance, so I just smile.

I made this card for her and for the Papertrey Pals challenge. You had to create a card using primary colors. 
  • Summer in Paris cartridge for 2" car
  • Going Places for 1 1/4" Smile
  • Cuttlebug folders ~ Distressed and Swirls
  • ribbon, gems, primary color cardstock

Before I presented the card to my daughter, I showed my husband. He had to run in the other room and call "it" before I gave her the card. We definitely all had a good laugh and smiles on our faces.

Hope to hear from you,
Georgiana : )

Friday, September 3, 2010

National Sewing Month

The observance of National Sewing Month began in 1982 with a proclamation from President Ronald Reagan declaring September as National Sewing Month “In recognition of the importance of home sewing to our Nation.”
I read the following in the Joann's flyer this morning...
"In the past, our mothers and grandmothers would sew out of necessity. Today, sewing has become more of a hobby and a way to express personal style." 

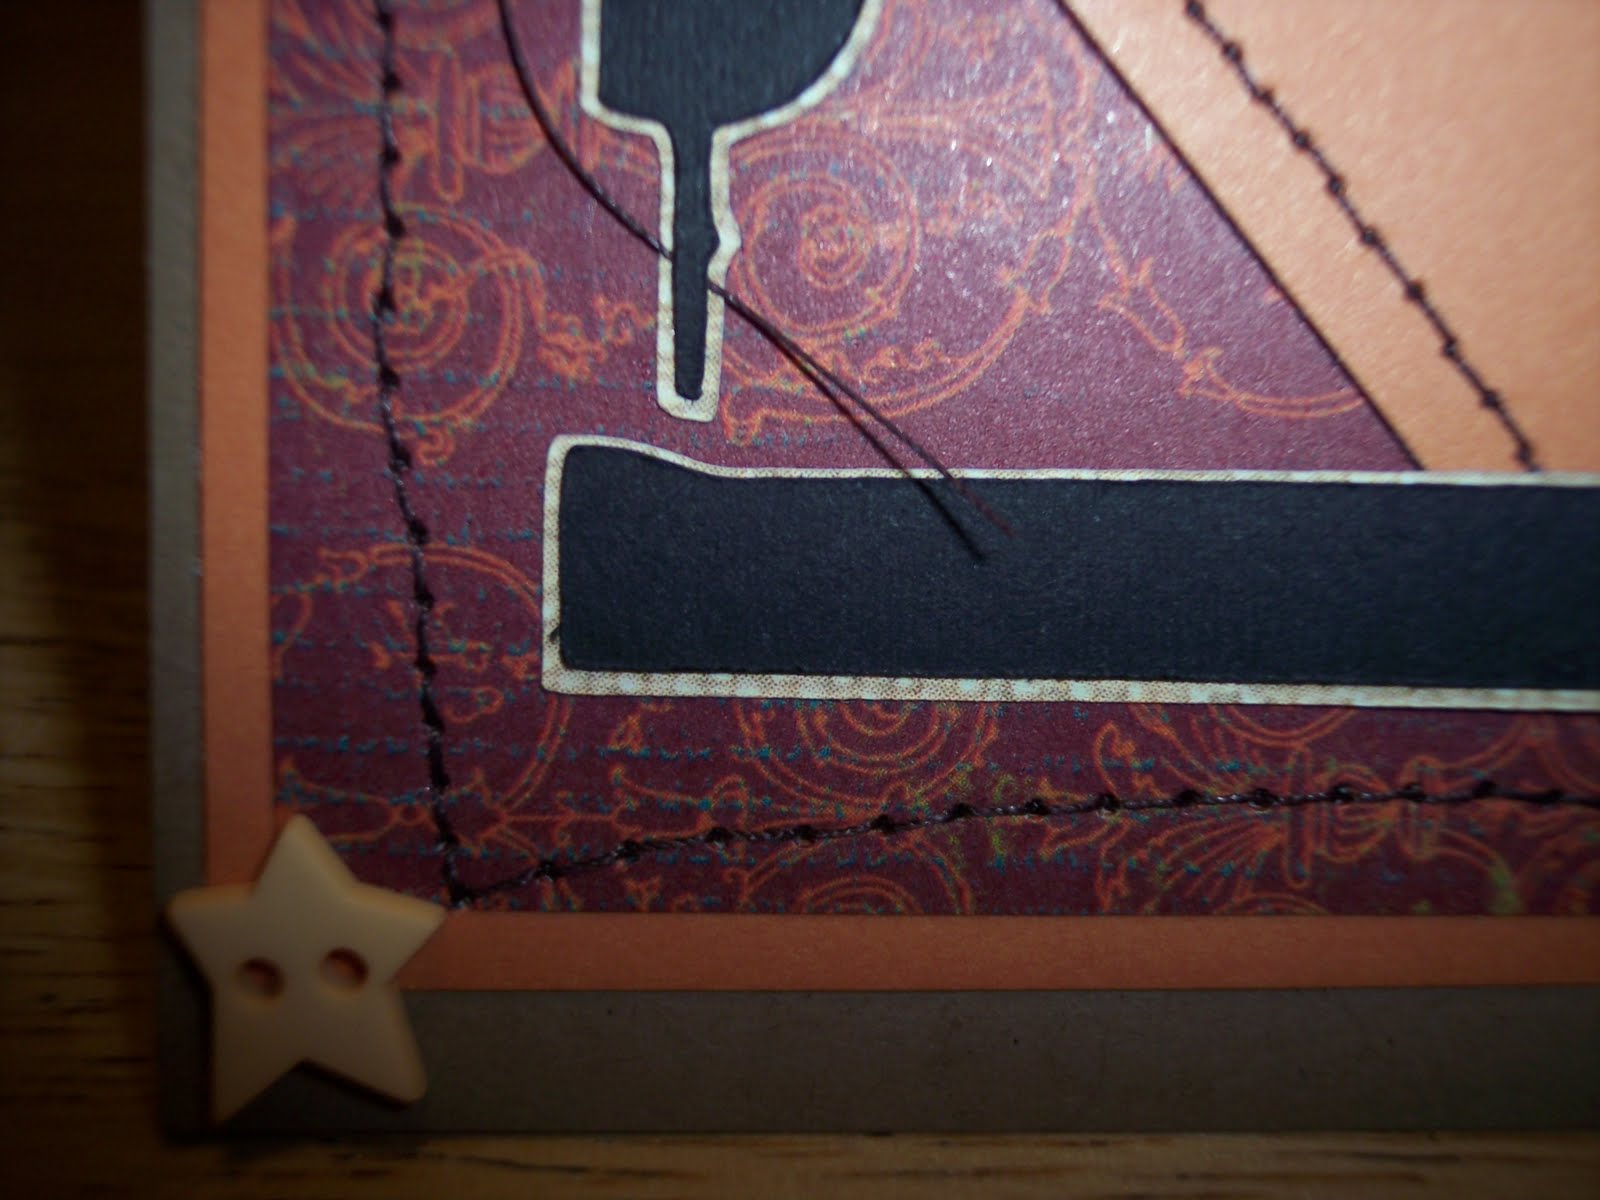
I decided to try adding a sewing feature to my card. I plan on practicing a few more times during this month. Once my daughter helped me set up her machine it wasn't very difficult. Of course, the lines are not exactly straight but it adds character.


I used the Heritage cartridge ( I really like the images on this cartridge) for the sewing machine which was cut at 2 inches. The sentiment was cut from the same cart at 1/2 inch.


 I think I saw another sewing machine image on the Country Life cartridge. If I can borrow a friend's, I would like to try and make another one. I know I can improve with more practice...lots more practice that is!

I am hoping you have been inspired to create something for National Sewing Month too.

Stay Creative,
Georgiana  : )
If you would like to make a card or another project and share with others, please use the linking feature below.

Thursday, September 2, 2010

Garden Mini Album

I worked on the No-Staple No-Glue foldable and I am ready for all those great pictures I plan on taking this weekend (after we work on attacking the jungle in the backyard).

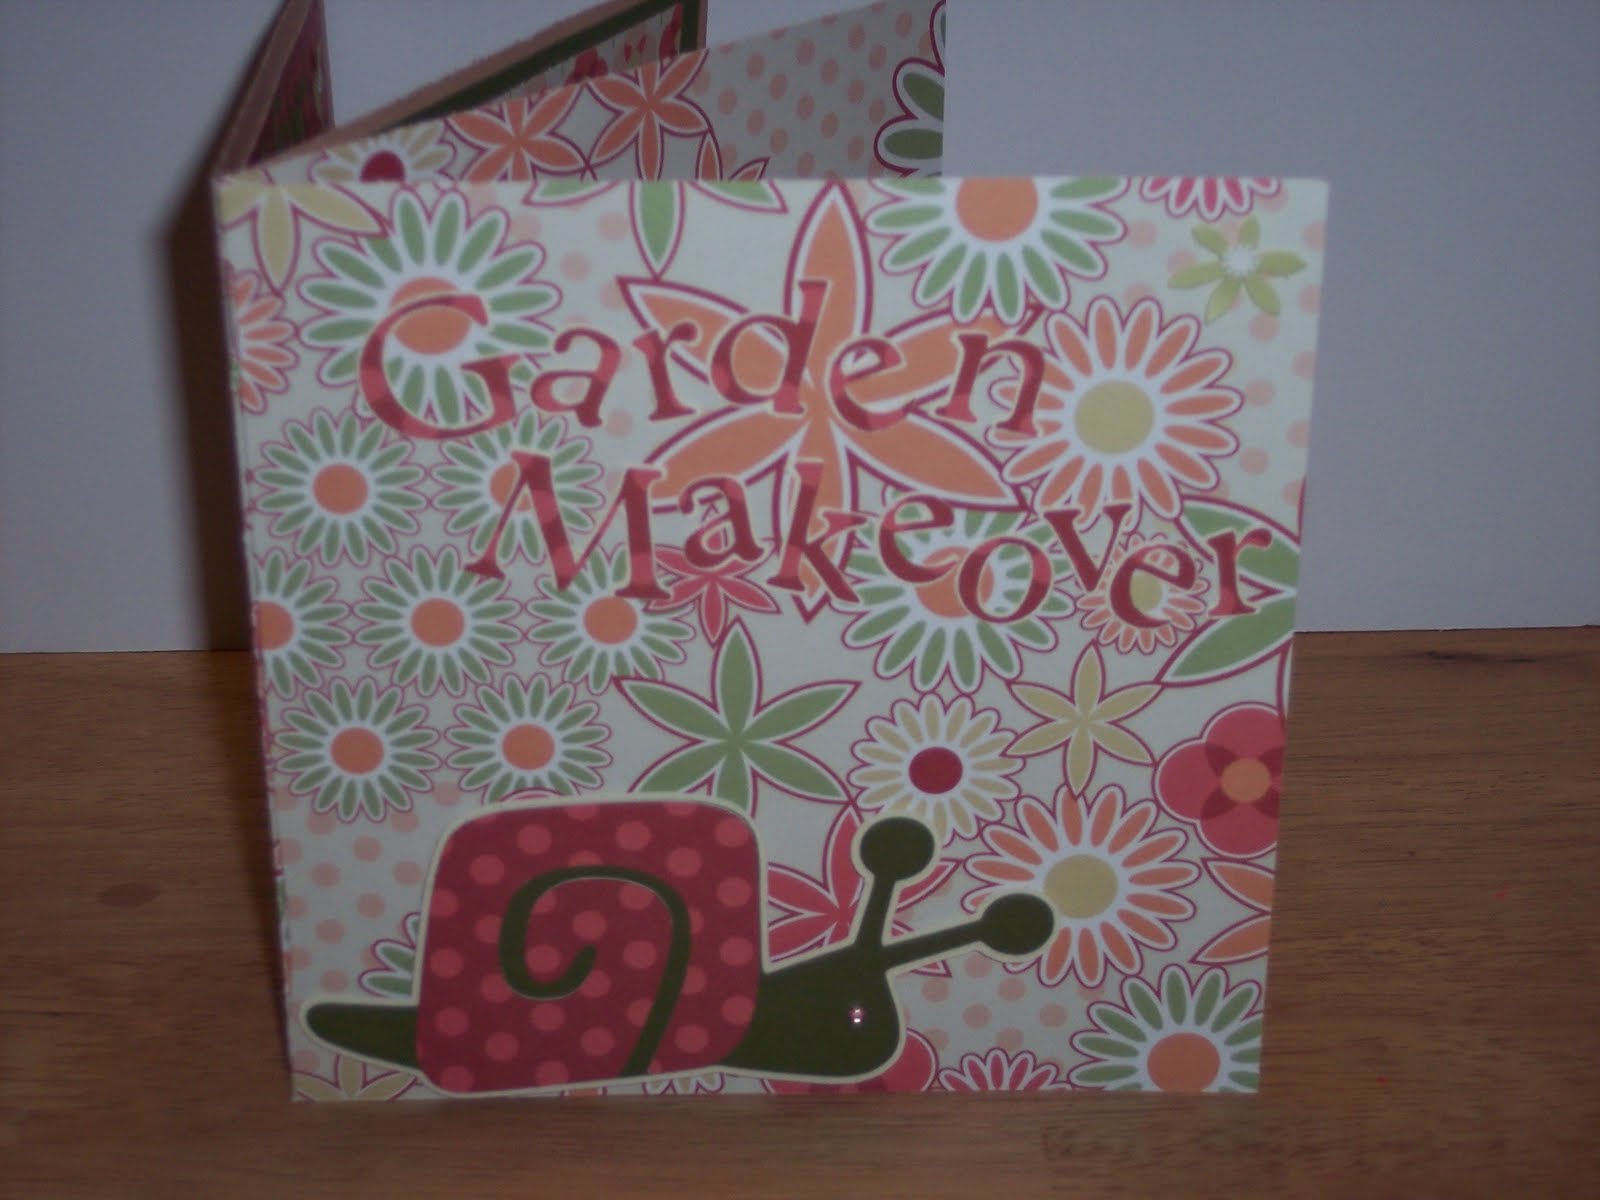
I created a Garden Makeover mini album. I thought it would go along with the flower theme at The Craft Den~Anything Goes Challenge Blog. 

I used Walk in My Garden for the snail which was cut a 2 inch and the sign was cut at 4 inch from the same cartridge. "Grow" is a sticker that fit perfect. The flowers are stickers and the leaves are torn paper. The green dragonfly is a button.

All the letters were cut at 1 inch from Plantin Schoolbook.

Click Here to see how to make your own.This one can be altered by adding another sheet if you want to make it longer. If you want to learn more about foldables let me know. I have plenty more that can be changed into cards or layouts. 

I hope you have enjoyed a different way of creating a mini album. Be sure to leave a comment if you would like. I would love to visit your site to see all those projects too.

Stay Creative,
Georgiana  : ) 

Wednesday, September 1, 2010

No-Staple No-Glue Mini Album

I have seen all these wonderful mini albums being created, so I decided to try one but with a twist. Since I teach school, I decided to take one of my favorite foldables and create an album for a weekend project. It is called the No-Staple No-Glue booklet.

1. First take a double sided 12 x 12 piece of cardstock and cut it in half.

2. Next fold each piece in half. We call it a hamburg fold (not the long way which is a hot dog fold.)

3. Then you take only one piece and trim off the crease. Begin cutting about 1/2 inch from the bottom and stop about 1/2 inch from the top. DO NOT cut off the entire crease.

4. Next you take the other piece of paper and trim about 1/2 inch from the top and 1/2 inch from the bottom. DO NOT cut the entire piece in half. I tell my students it looks like walking feet.


5. Then you roll that piece (it is actaully called a burrito roll not a fold) and slide it into the other piece of paper that had the crease cut out.
 
6. Unroll the piece and it will flatten out into a mini album. Fold the pages any way you like depending on what color cover you want.
 
7. Add decorations and frames to any of the pages as desired.
 
Since it is a 3 day weekend, I want to work in the backyard as long as it is not 100 degrees or raining. I am going to use this mini album for before and after pictures. I am going to add a title and then captions to each image.
 
I hope you give this album a try and  let me know what you think. PLEASE BE HONEST! If you need better instructions I will edit. My students usually watch me once and can do it again on their own. They love these and you will too.
 
Good Luck!
Georgiana  : )

Birthday With Brads (Sorry...not Pitt and Paisley)

Party Time Tuesdays Challenge #14
Create a birthday card (with the required birthday greeting/sentiment) and add brads! 

This is the cover of the birthday card. I used pink card stock for the base and layered with cream and purple papers. The birthday paper is from imaginisce. I love the glitter! I cut the party hat and shadow from the Celebrations cartridge. 
 
Pinka nd silver brads were used in each corner and a pink gem tops the party hat. 
The big pink H in the lower right corner is a sticker from Joann Craft Essentials. 
The inside of the card was fun to create. I used the same papers and layered the colors. I used a Martha Stewart metallic silver stamp for Happy Birthday and added more pink gems. The sideways "Celebrate" was cut from the Celebrations cartridge also.

My birthday is this month, so I am getting super excited. I am hoping for some new crafting goodies! Maybe a Gypsy and a new cartridge or two.

Hope you will come back again to share.
Stay Creative,
Georgiana  : )