Pages

Showing posts with label shaker card. Show all posts

Wednesday, June 14, 2017

Camp Create Day 3: Spectacular Shakers

Hello All,

Welcome back to Carson's Creations and thanks for stopping by! This is my second post again because I have been following along with My Favorite Things Camp Create every day this week (just scroll down for my Paper Play Sketches post). I have been enjoying each day because I am actually learning a new tip or technique from every video. Today's skill for Day 3 was Spectacular Shakers.

When I first saw the Camp Create title I was a bit disappointed. I have created shaker cards before and was never quite happy with my final products. The sequins would always get stuck to the side of the window frame or the depth was too shallow and the sequins wouldn't move.  After I watched the video by Laurie I felt more confident that I could make a shaker that worked.

Using white craft foam is brilliant! Lining up the circle you cut from the cover on top of the foam was wonderful. The best tip was using the static bag around the inside of the window. The rest just fell into place. 

I used the MFT flamingo die and Tickled Pink stamp set. The sentiment is heat embossed in white powder.

Here is Wednesday's badge.

Looking forward to Camp Create ~ Day 4. I wonder what the craft will be?!?!

Until tomorrow,
Georgiana

Friday, July 3, 2015

Guest Designer at Pretty Paper, Pretty Ribbons

Hello Everyone,

Happy Friday! Today is exciting because I am Guest Designer at Pretty Paper, Pretty Ribbons. After Lisa posted last week that she was looking for guest designers I jumped at the opportunity to create and share these amazing files.  

For my first project I created a birthday shaker card using three different svg cutting files.

I used the Flamingos in Love file (and a present from the Birthday Cakes Cricut cartridge). A 3 Girl JAM crinkle ribbon bow that ties all the colors together was adhered in the upper left corner.

 Stitched Shapes file makes an awesome mat.

 I cut numerous (about 14) Photo Frames 1 and glued them together carefully stacking each one on top of the other. White sequins were placed under the clear transparency cover, so they will move freely.

For my second project I created a Patriotic tag for a jar of Sixlets. I used the Patriotic Balloon and Made with Love Tag files.

Every tag needs a giant bow! I used red ribbon, Martha Stewart bakers twine, and blue craft thread. Then a white star button finishes it off!
Other Challenges:

Be sure to stop by Pretty Paper, Pretty Ribbons to get your freebie today!

Happy early Independence Day if you live in the USA.
Stay Creative,
Georgiana  

Friday, June 6, 2014

Congratulations Graduates of 2014

Hello Crafty Friends,

It is summer vacation time!

Wednesday was the last day of school for students in grades K - 11.  Seniors last day was last Friday. Another successful school year has flown by. Graduation ceremonies began this week and my husband's high school is tomorrow at 8 am. We have 7 high schools, a technical school, and military charter school (plus LOTS of elementary and middle schools). Our district serves about 42,000 students each year.

The green and gold graduation cards represents the colors at my husband's school. This is only his second year as principal at Forest High.


Love this shaker since I cut 9 of the same frames rather than using foam tape. The width is better and the sequins move freely. The Elegant Edges Cricut cartridge has a variety of frames, so there are many options. 

Another shaker using a different frame from Elegant Edges. These colors represent another high school in our county.

Two more high school graduation cards. 

I made this graduation card for a kindergartner who's school mascot is a gator.

Enjoy the Weekend!

Stay Creative,
Georgiana 

Monday, March 31, 2014

Anything Goes Crafty Party at Craftin' Desert Divas

Hello Crafty Friends,

Welcome Back! Thank you for all the kind words this past weekend. Making the All Things Spring projects and sitting Easter Bunny cards were a great way to end Spring Break. Although I am heading back to school today I still have lots of ideas and projects to complete. A belly box is calling my name!

Today also begins a new Linky Party at Craftin' Desert Divas hosted by Tara.

Crafty Party Theme...
Anything Goes
These are the best since you have so many options!

Here is my project...
Another shaker card using sequins. This time I used the negative (the paper around the die-cut). I taped a piece of clear transparency to the underside and then added double-sided mounting tape around the kite. After making this card I purchased some different foam tape to make the shaker slightly thicker. 

The thank you stamp peeks through the shaker window. Three purple sequins were adhered to the upper and lower right corners and the purple ribbon mimics the kite string. I can hear "Let's go fly a Kite".
Materials:
purple and white card stock
cloud pattern paper
purple ribbon
purple and frost sequins
inkadinkadoo stamp
purple ink

Hope you will join us for this crafty party at Craftin' Desert Divas! The more you link up, the better chance you have to win! Visit Craftin' Desert Diva for all the rules and to play along.

Sponsors for this Linky Party are...
Fresh Squeezed Stamps: "Mother Knows Best" Stamp Set
Lovebug: $10 Gift Card
Fleurette Bloom: $10 Gift Card

Be sure to check out the other Design Team projects while there.
Stay Creative,
Georgiana

Friday, March 21, 2014

Shake That Eight!

Happy Friday Everyone,

Thanks for stopping by yesterday for the new Teenage Dream Stamp Release (scroll down if you missed it). Today is my 3 Girl JAM day and I am sharing a birthday card for a sweet 8 year old. 

Here is my Design Team project...
I decided to create another shaker card because I wanted to try and make it thicker than last time (Best Wish Clover). I was quite frustrated while cutting the transparency film and framing the double sided tape, but I think the next one will be much easier.  
 I wrapped the ribbon around the entire frame to hide the double sided tape. Then a bow that combines the new Lemon-Lime and Summer Sprinkles ribbon was adhered to the bottom.
 I figured any child would find pleasure in interacting with their card, so I added green, orange, and frost sequins.
Other Materials:
Fancy Pants paper ~ Summer Soul stack
cream card stock
Elegant Edges ~ frame cut at 3 1/2"

Plantin School book ~ 8 cut at 1 3/4"
Happy Birthday stamp
black ink

Hope you will join us at 3 Girl JAM for March's challenge.There are still a few days left before the deadline.

March 1st - March 28th
Green, Yellow, Orange Project

Stay Creative,
Georgiana

Sunday, March 16, 2014

Best Wishes with a Clover Shaker

Hello Crafty Friends,

What a quick and busy weekend. My hubby and I went looking for a new vehicle today since my daughter will be getting mine for her 16th birthday (in 24 days...she is counting down and sending reminders). I really liked the Acura RDX (do not need a big SUV since kids are older, but I do want a SUV). Any suggestions? What do you like if you own one?

Only one more week until Spring Break...Yippee! I love my class and teaching, but a little vacation never hurt! No plans to travel, but just the relaxation time and no papers to grade is ideal.

Here is my attempt at a shaker card. I like it, but want to try another (and another). I need to make it slightly thicker next time, so the confetti moves easier. It was easy and I have lots of ideas now. Tanya at Studio 5380 ALWAYS has amazing shakers! Can't wait till next week...so many ideas I am going to try and make!
Materials:
DCWV pattern paper ~ grey chevron
Me&My Big Ideas paper ~ green chevron
cream card stock
shamrock confetti ~ 50% off at Joanns
double sided tape
green and white (Peacock) twine
tag ~ Plantin Schoolbook Cricut cartridge
Best Wishes stamp
black ink

Challenges:

If you have made a shaker card...what other ways have you tried besides using the negative? I am up for trying a variety.

Stay Creative,
Georgiana 

Monday, July 18, 2011

Shaker Card Pictorial **Winner Added**

Hello Crafty Friends!
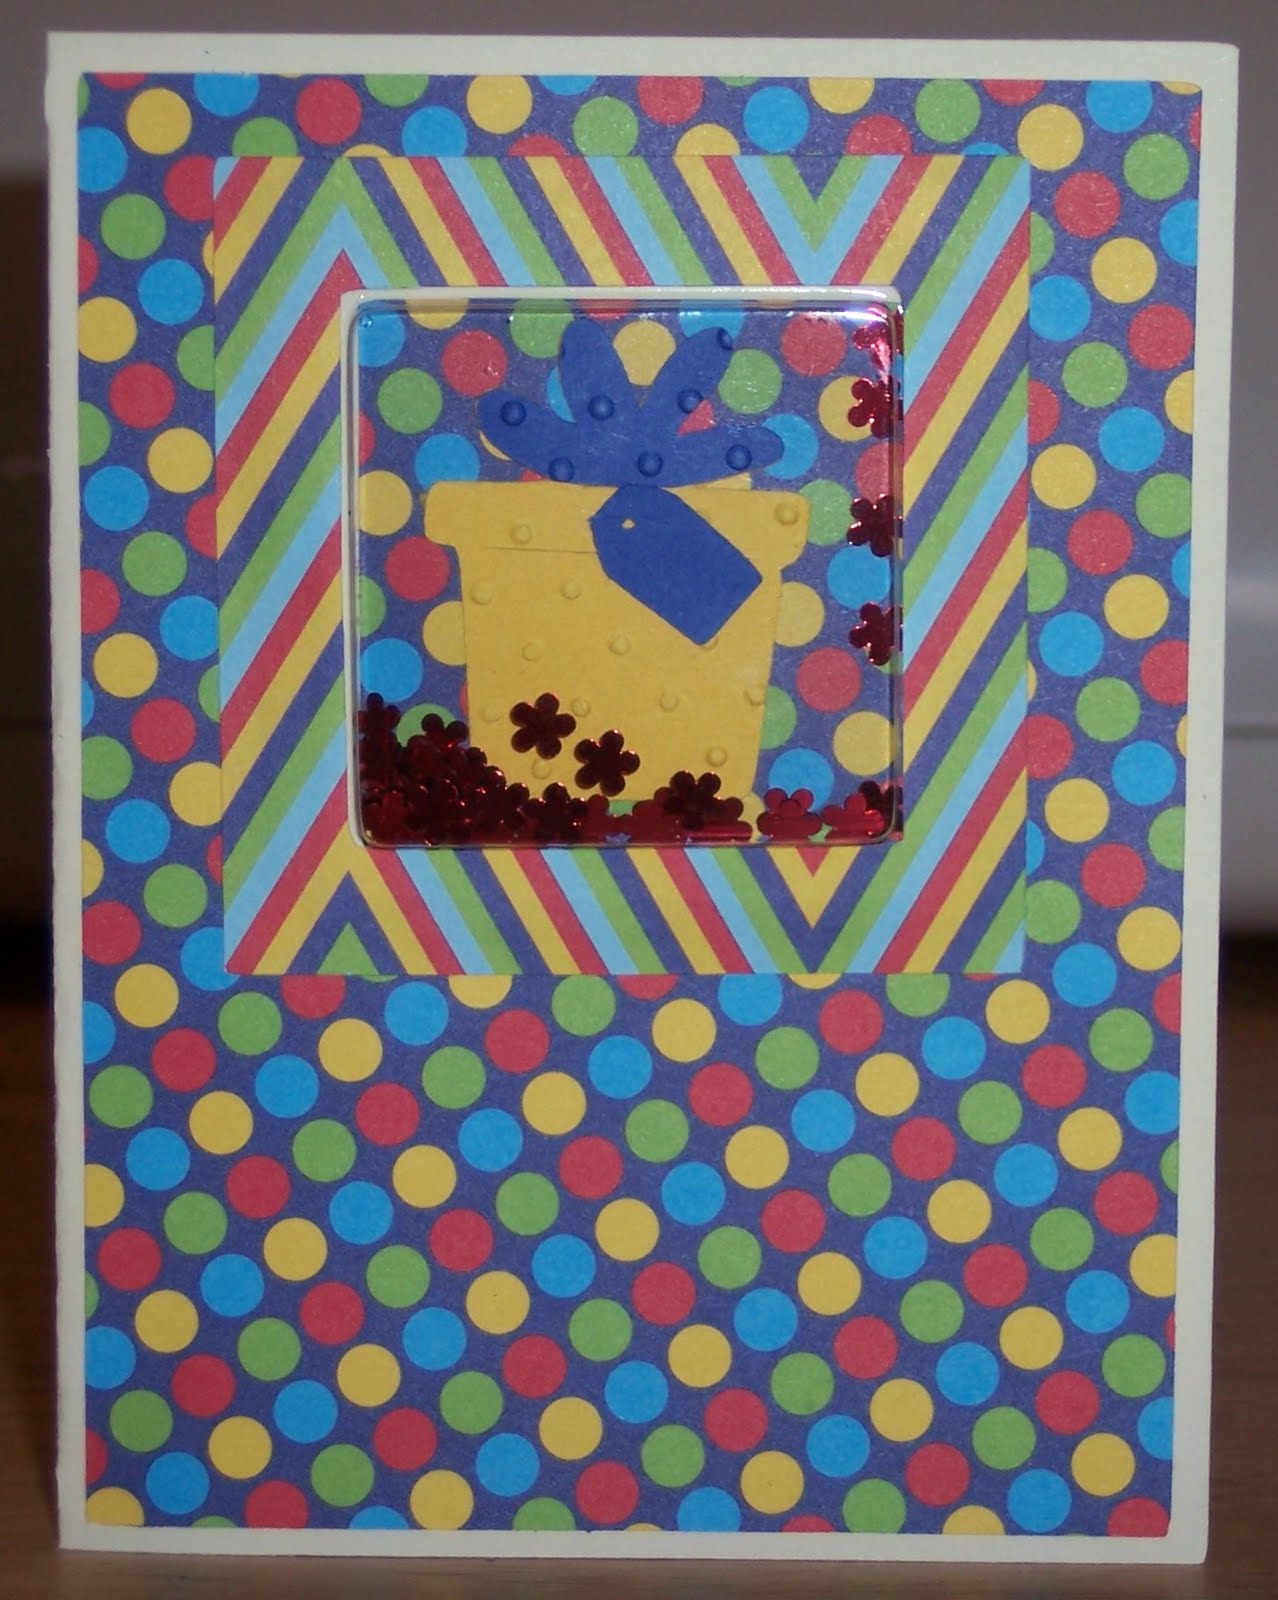
Thank you for visiting this past weekend during the Christmas in July Hop. Each day I created a different card, but I did not have the opportunity to explain how to make a shaker card from Day 3. I now have pictures and instructions to show you how I made this card.

First, you will need to purchase the Shake It card pouches. I bought mine at the local scrapbooking store. There are 10 in a package and they do come in various shapes and sizes. Here is the link to find out more...Impression-Obsession. 

Next, I used the Wild Card cartridge to cut my card base from a solid colored piece of cardstock at 4 3/4". I selected the "stitched card" on p. 35.  My small pouch fits perfectly. If you do not own the cartridge, you can make your own window with a square punch or you can purchase the overlays with the shaker pouches. 
Now, peal the sticker from the self-adhesive shaker window pouch and align over the cut-out square. Press on the edges around the window to make sure the two pieces are sticking together firmly.

Once the window pouch is set, you can add the front liner and frame. Be sure to save the square piece of paper from the liner. You will use this to seal in the glitter. I used the Wild Card cartridge to cut both these pieces at 4 3/4".  


You are ready to begin the next step.

  • First, you will need to find an image or digi  (approximately 1" in size) for your window. Be sure to adhere the picture well or the glitter will stick to the edges. I used Doodlecharms to cut a gift (p. 109) at 1 1/2".  
  •     Next, pour a small amount of glitter into the window as it is laying on a flat surface. I am using red shaped glitter that I purchased at Michaels on clearance for my window.
  • Then, adhere the square window piece to the inside left flap. I used a glue pen and carefully went around the edges of the square. It will align over the square nicely.
Here is what your card will look like from the front. 
To create the inside liner, choose you paper and cut it slightly smaller than the card base to create a framed look.
Decorate and add your message. : )
I still need to add my sentiment and a few more cuts, but now you have instructions on how to make a shaker card. I think any child will enjoy receiving one. It will be like magic trying to figure out how the glitter got on the inside since you can't see the small piece hidden behind the liner. Good luck making one!

Christmas in July Blog Hop Winner:
Mr. Random helped me pick the winner.


 Cheryl Gaffney said... 

I'd love to see a tutorial! I love making shaker cards but I haven't done one in a while.

TFS! Hugs, Cheryl
Be sure to come back tomorrow for the Die Cuttin' Diva's newest challenge. We have another great sponsor for this week. Oh, how I wish I could enter and win!

Stay Creative,
Georgiana

Sunday, July 17, 2011

It Sure Doesn't Feel Like Winter. It Must Be the Christmas In July Blog Hop, Day 3

Welcome back for Day 3 of the Christmas in July Hop hosted by Lisa of Scrapping with Lisa handmade with love. If you came from April of Curls and Grins, then you are in the right spot.

Here is today's project:
I made this shaker card, which is a first for me. I bought the plastic window frames a few months ago and I haven't used them until now. Directions didn't even come with the package, so I have created my card from scratch.

I wanted to keep the cuts very simple and focus on enclosing the materials in the shaker window without the glitter escaping. 

I have figured it out! Now I can share with you!
I will do a pictorial later this week with step-by-step directions.  

I used Wild Card cartridge and cut the "stitched" card base at 4 3/4". The angel was cut at 1 1/4" and the stars were cut at 1 1/2". Both cuts were from Joys of the Season.
 Can you see the gold glitter inside the window?
 I cut a liner to help seal the shaker window.
Challenges:
2 Sisters Challenge ~ Christmas in July
Charisma Cardz ~ Stars
GAB ~ Something New
If the Shoe Fits ~ Red
Paper Cutz Challenge ~ "Sky is the Limit"

Please leave a comment each day for a greater chance of winning. The winner will be announced Monday evening, July 18th.

Thank you again for joining all of us for the
Christmas in July Blog Hop.
Until tomorrow,
Georgiana